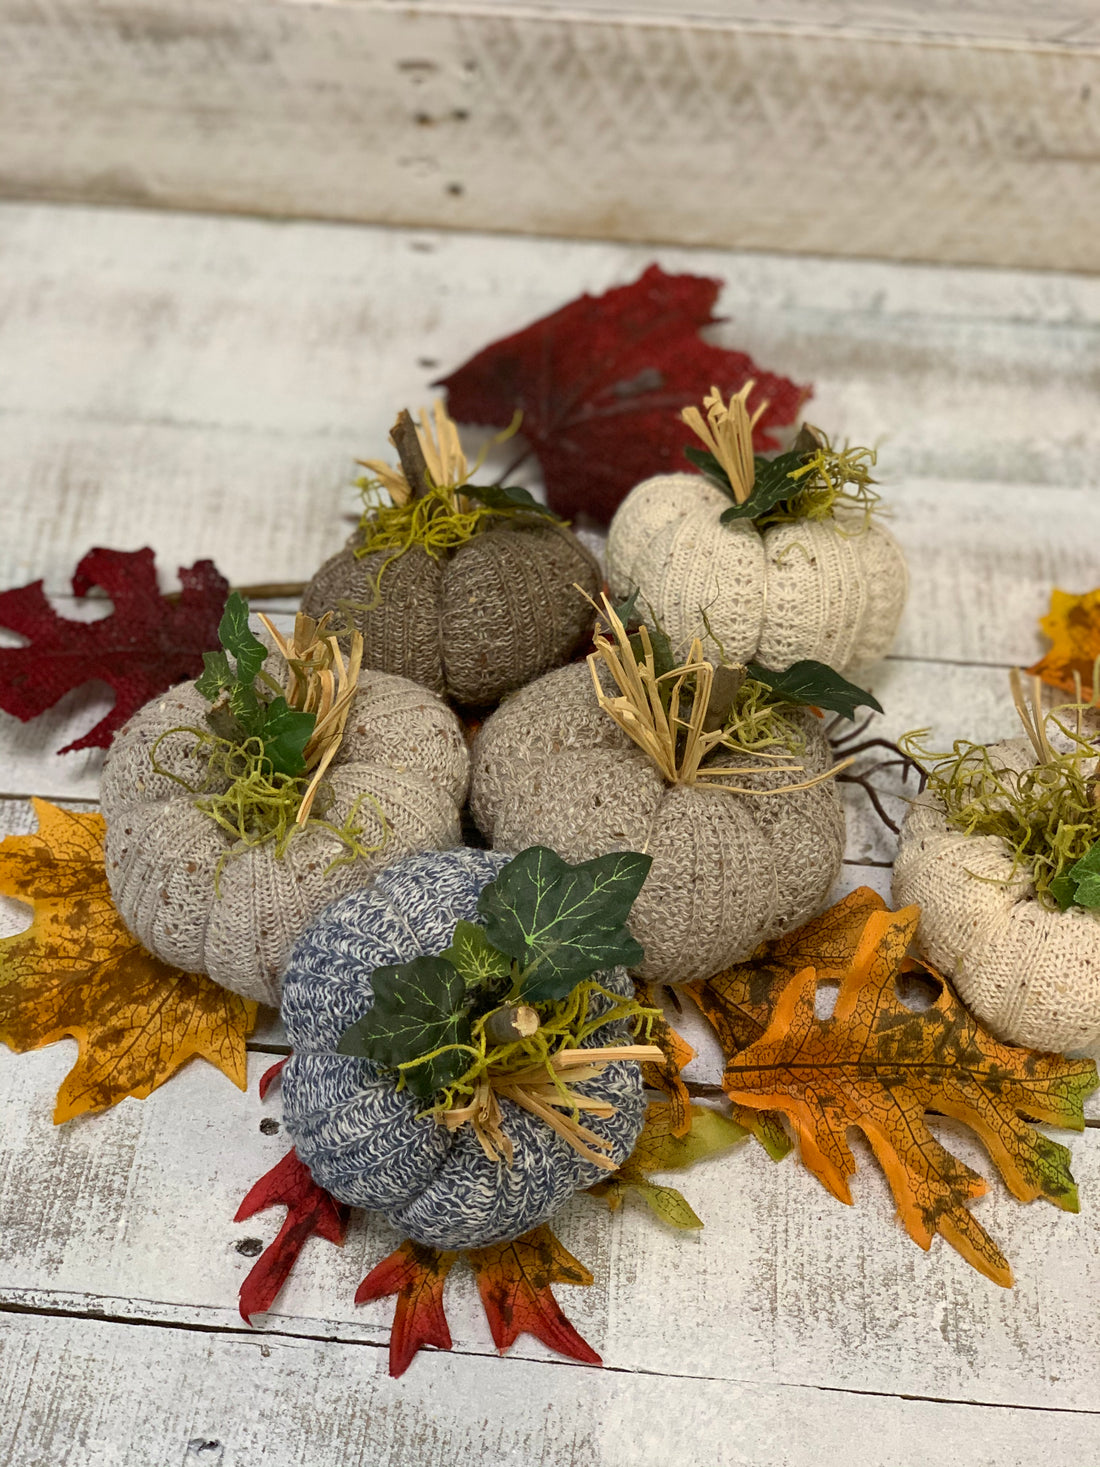
Don’t you love decorating for Fall with pumpkins? Here is how to make adorable pumpkins from your favorite old Catherine Cole socks. Sock pumpkins are a great way to use up mismatched or old socks. This fun blog will show you how easy it is to make these adorable pumpkins from your Catherine Cole socks.
Welcome Fall! Sweaters, socks and boots. The beautiful colors, the cooler weather, it’s pretty much the perfect season. I also love making crafts in the fall. but I especially love making cute little pumpkins! These little pumpkins are made from our marled yarn boot socks, but you can also or pretty much any type of knitted or slubby sock.

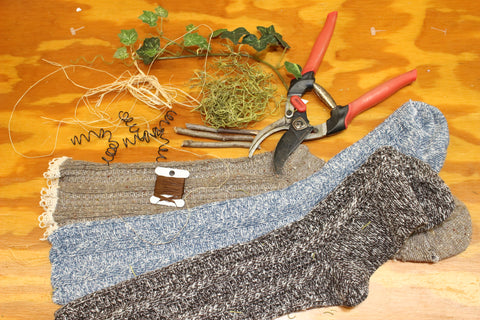
Materials I used
- Socks, I used our marled yarn boot socks. Each pumpkin requires a 7″ x 3.5″ piece.
- Embroidery floss Try to match or compliment the colors of your fabric.
- Needle with a large eye Polyfill Stuffing
- Ivy leaves or any other fake or felt leaves
- Pumpkin stem or small twig, Wire curly cue
- Hot glue gun and glue sticks
- Spanish moss and Raffia (optional)

Step 1: Make a tube out of the fabric
Making fabric pumpkins out of our socks is super easy, I made mine while watching TV. .Just cut a section out of the tube part of the sock that is the size you want your pumpkin. I cut mine to be 7″ long. 

Step 2: Use your embroidery floss and close up the bottom side of the tube
Turn the socks tube inside out and sew up the bottom of the tube with your floss.
Pull the seam tight so it is bunched together. Sew a few more stitches through the center of the bunch. You basically want your fabric to be bunched as tightly as possible. This is going to be the bottom of your pumpkin.
Then turn your right side up.
Step 3: Stuff your sock pumpkin with poly-fil
Now it’s time to fill your pumpkin. I like to use about 1/4 cup of rice in the bottom of the pumpkin for some extra weight. I like to make a plump pumpkin. Just stuff it to your liking.

Step 4: Stitch the top of your fabric pumpkin and make sections with embroidery floss
Turn the extra socks fabric inside so raw edges are inside. With 20″-30″ of embroidery floss, stitch a seam around the top of your pumpkin. Then pull the embroidery floss tight to close your pumpkin. But do not cut or tie off your embroidery floss. Take the embroidery floss and go through the center of the pumpkin. Divide your pumpkin into sections by bringing your floss through the middle of pumpkin.
Step 4: Stitch the top of your fabric pumpkin and make sections with embroidery floss
With 20″-30″ of embroidery floss, stitch a seam around the top of your pumpkin. Then pull the embroidery floss tight to close your pumpkin. Cut off any extra fabric above the seam you have just sewed. But do not cut or tie off your embroidery floss.

Take the embroidery floss and go through the center of the pumpkin. Divide your pumpkin into sections by bringing your floss through the center of the pumpkin and then around the pumpkin, making six sections When you make the last section pull the floss tight and tie it on the underside of the pumpkin.
Step 5: Glue on your stem, leaves, or other accessories
The final step is to use your hot glue and attach your stem and leaves. Instead of real stems you can use small twigs or branches. I grabbed my pruning shears and cut of a few twigs from the garden. I also made the wire curly cues from black picture wire. I thought looked adorable I added leaves from an fake ivy bunch and used Spanish moss and raffia (optional) for extra color and detail.

These pumpkins would be great as a Thanksgiving center piece or even Halloween decor. I will be using mine for my Thanksgiving Centerpiece.
Gobble, Gobble,
xoxox Catherine
Check out our Marled yarn Made in USA boot socks that we used to make these adorable socks pumpkins. 


